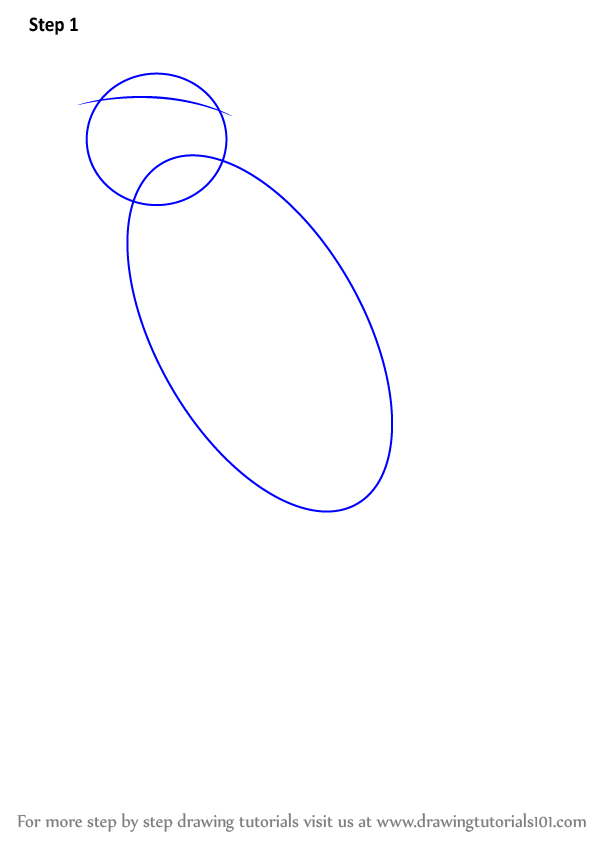
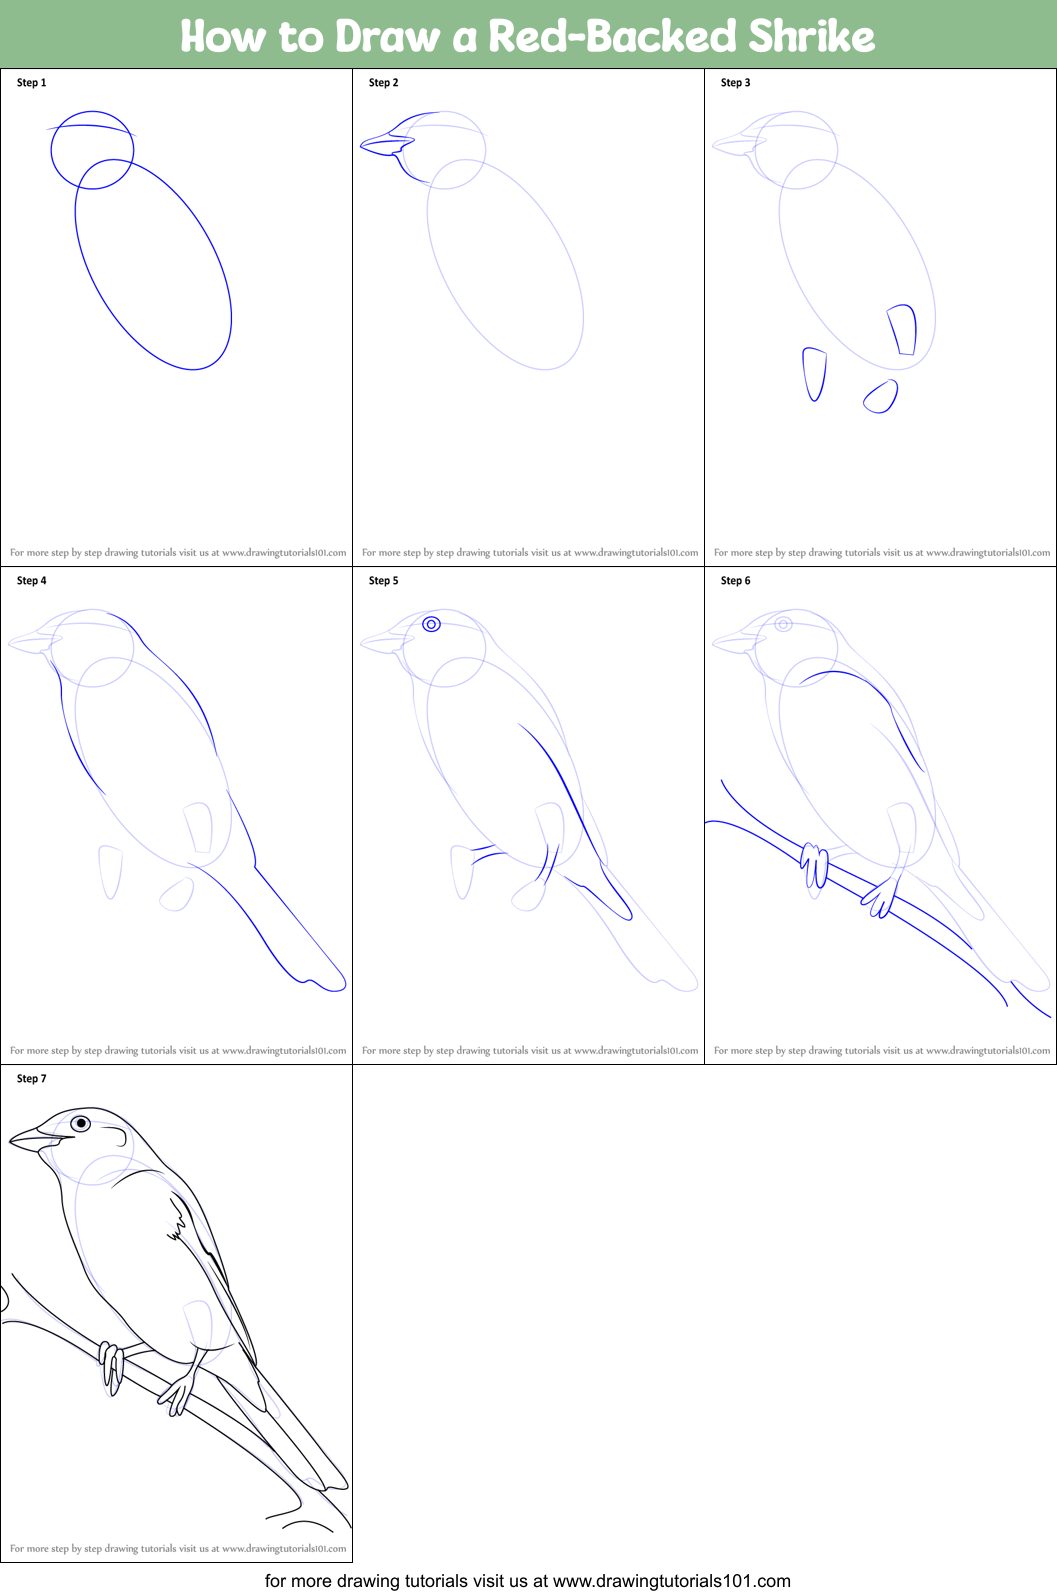
Step #1
Begin with drawing a medium oval and a small circle.
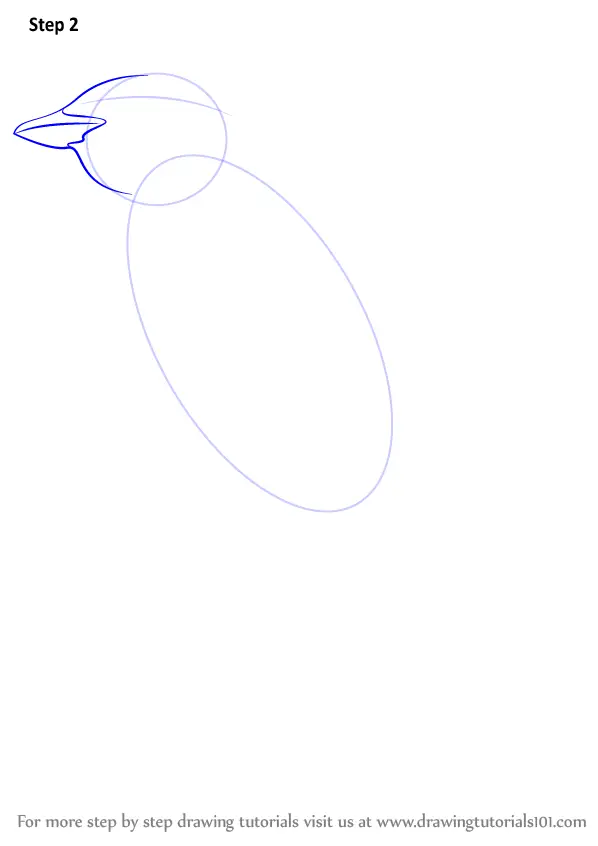
Step #2
Make the beak.
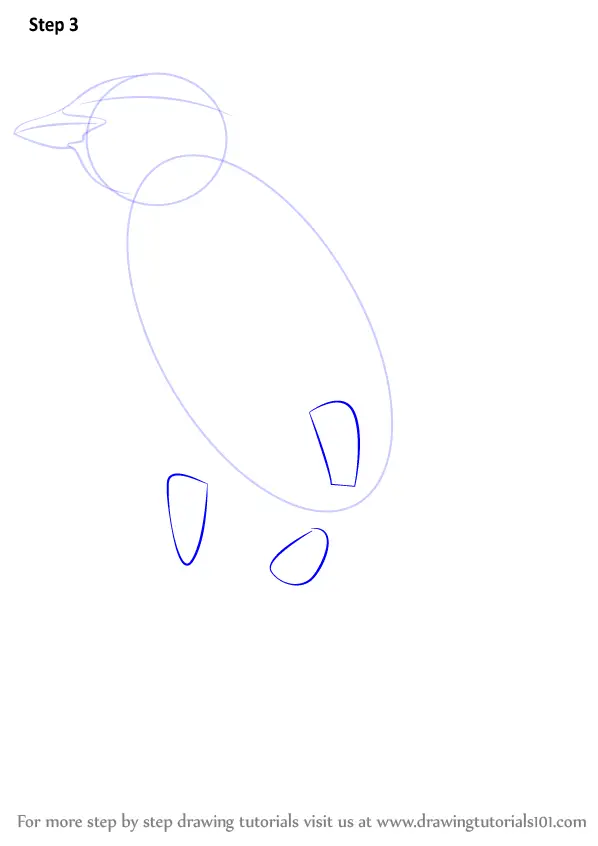
Step #3
Make an outline for the legs and the feet.
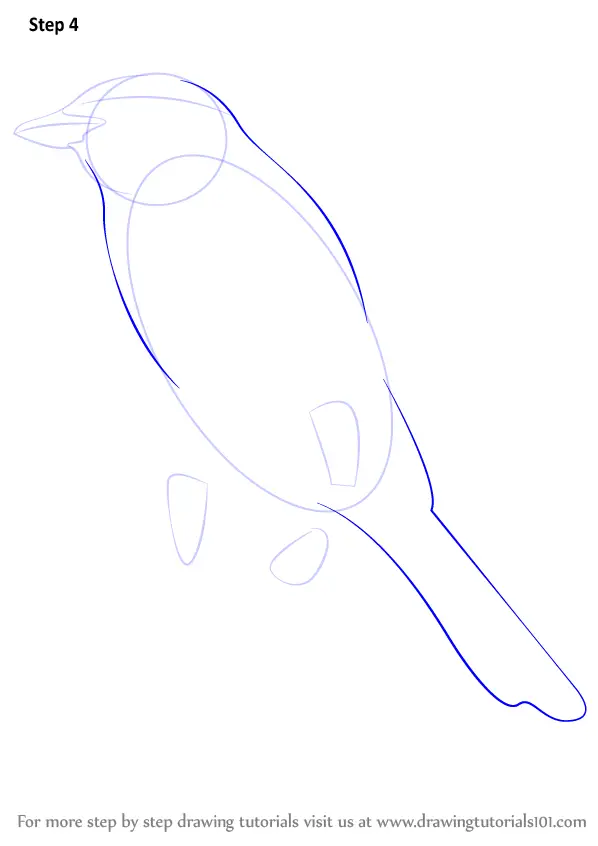
Step #4
Now join them all and create a base for the body and the tail wings
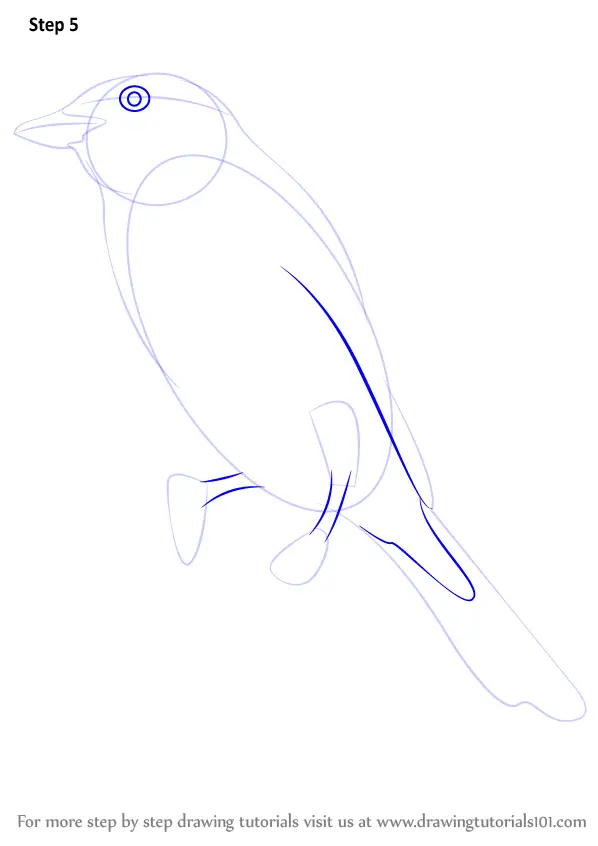
Step #5
Now make the wings and enhance them, along with feet and the eye.
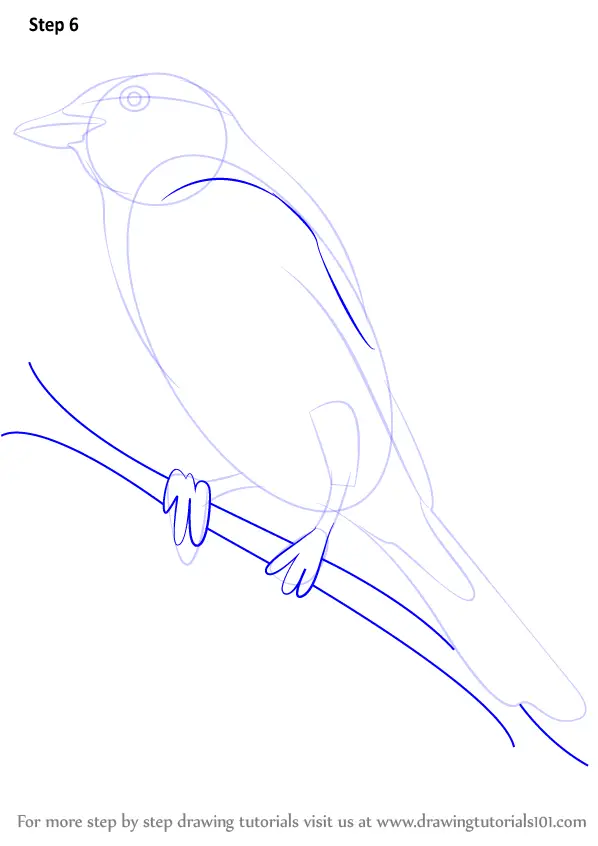
Step #6
Make the tree branch and the feet.
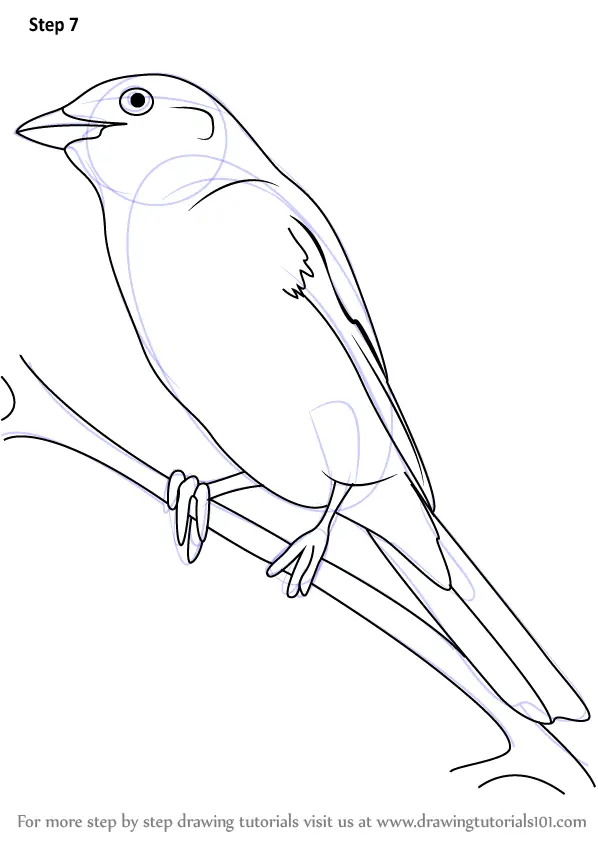
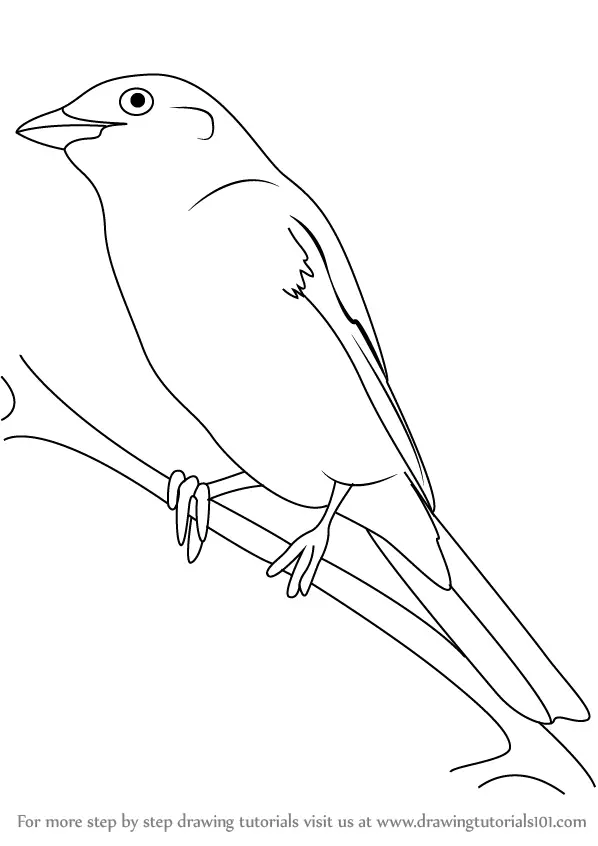
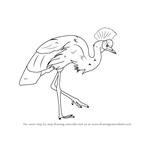
Step #7
Complete the drawing by adding required elements and that much needed finishing touch.
Date Published:
by:
Staff